Bottom Line: A well-executed retail store shoot begins long before the camera comes out. Thoughtful planning and meticulous in-store prep ensure images that wow clients and drive sales—while saving precious post-production time.
Planning Is Everything
An efficient retail shoot starts with a solid plan. Choose a date and time that minimizes foot traffic—typically just before opening or right after closing. If you’re shooting in a mall, airport, or hotel, coordinate with property management, security, and marketing well in advance to secure permits and clearances.
Share reference photos of the store’s exterior and interior with your photographer. Early visuals help them scope the project, suggest ideal angles, and flag any potential challenges (bright signage, reflective surfaces, odd layouts). This collaborative approach means fewer surprises on shoot day and faster, sharper results.
Store Preparation: Set the Stage
When the shoot day arrives, the store should look as pristine and inviting as possible. Encourage your client to:
- Remove Temporary Signage: Sale tags, promotional stickers, and holiday décor can date images in a heartbeat.
- Tidy Key Areas: Clear away trash bins, close storage doors, and stow personal items.
- Align Fixtures: Ensure all shelves, racks, and product displays follow the brand’s planogram—symmetry matters.
- Maximize Ambient Lighting: Turn on every built-in fixture that’s part of the design scheme to avoid patchy shots.
- Reset Counters and Drawers: Close every drawer and straighten countertop displays so nothing looks askew.
These small details create a clean canvas for your lens—and reduce the chances of time-consuming retouches later.
Cleaning Guidelines: Polish to Perfection
Reflective surfaces are retail’s best friend when shot well, and its Achilles heel when they’re dirty. A rigorous cleaning checklist should include:
- Floors and carpets
- Display shelves and racks
- Counters and registers
- Glass surfaces: windows, mirrors, even polished metal fixtures
- Product packaging and props
Bright, streak-free glass and spotless displays help you capture crisp, high-contrast images that sell. A single smudge can cost hours in Photoshop, so it’s worth double-checking these surfaces before the photographer presses record.
Layout and Styling: Eye-Catching Arrangements
With the space tidy, a store designer or stylist should perform a final walkthrough. Confirm that:
- Merchandise is organized by collection or category
- Key hero products are prominently featured at eye level
- Traffic flow is unobstructed, offering clear sightlines for wide and detail shots
- Seasonal or promotional displays align with brand guidelines
A polished environment not only photographs better but also accelerates the shoot—photographers move faster when they can anticipate each frame.
Shot List: Capture Every Angle
A detailed shot list keeps both photographer and client aligned on deliverables. Here’s a baseline list:
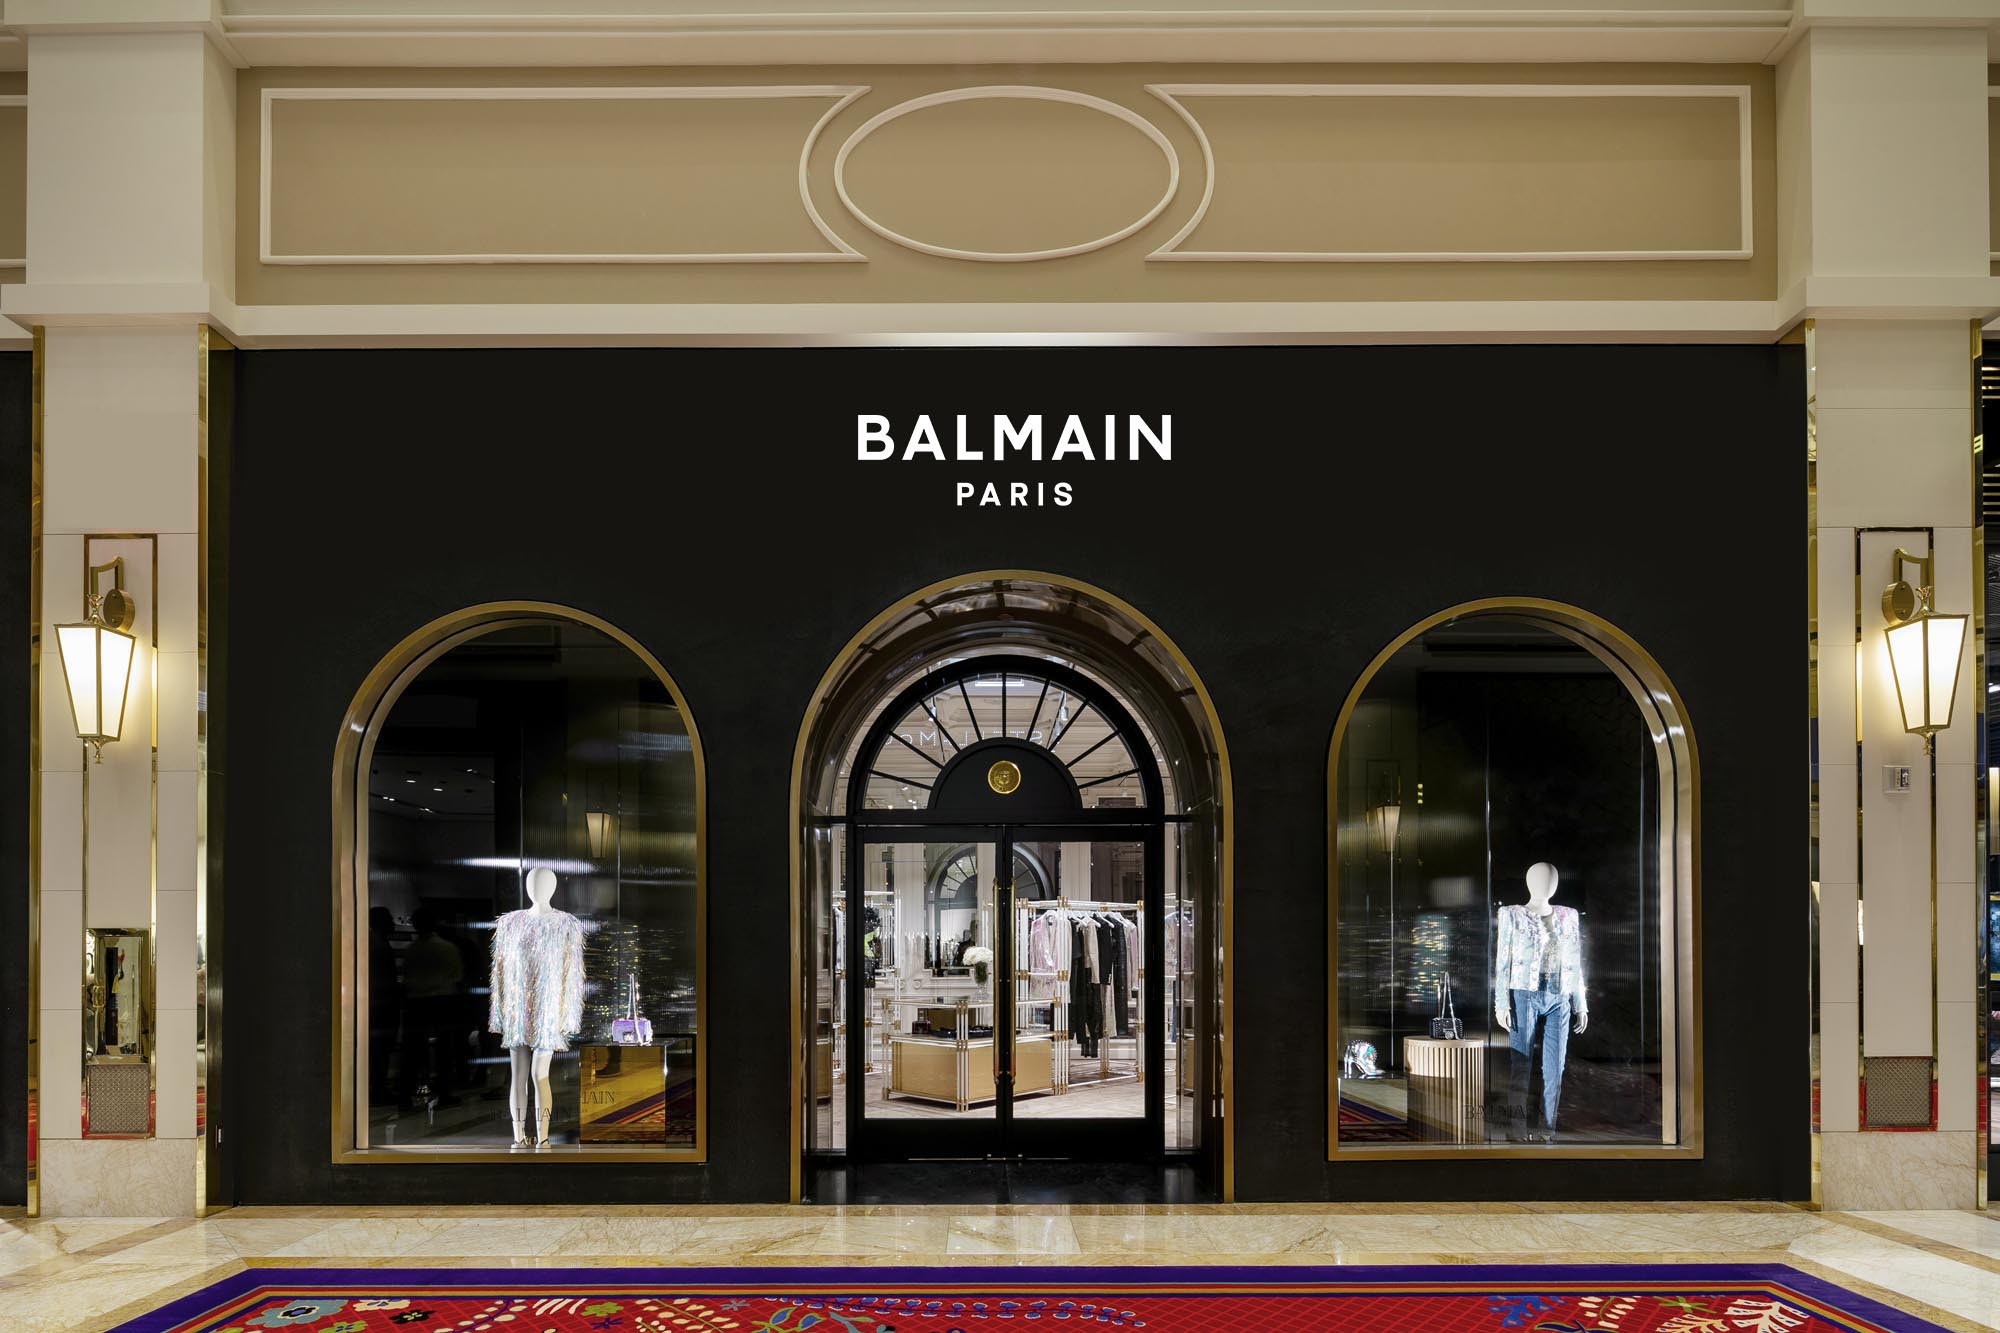
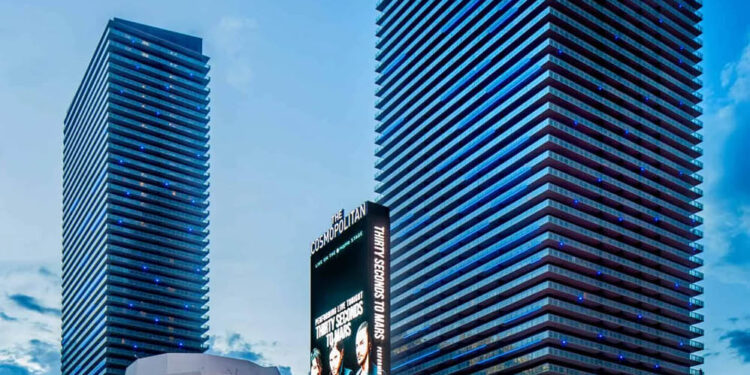
- Exterior Straight-On: Showcase storefront architecture and signage.
- Exterior at an Angle: Add context by including surrounding environment.
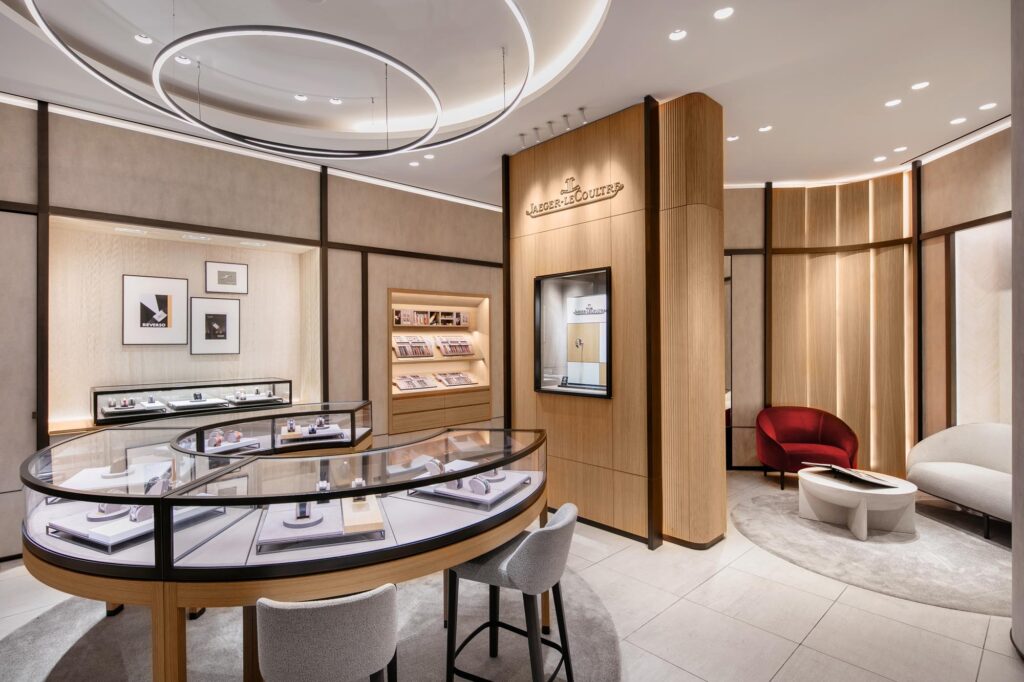
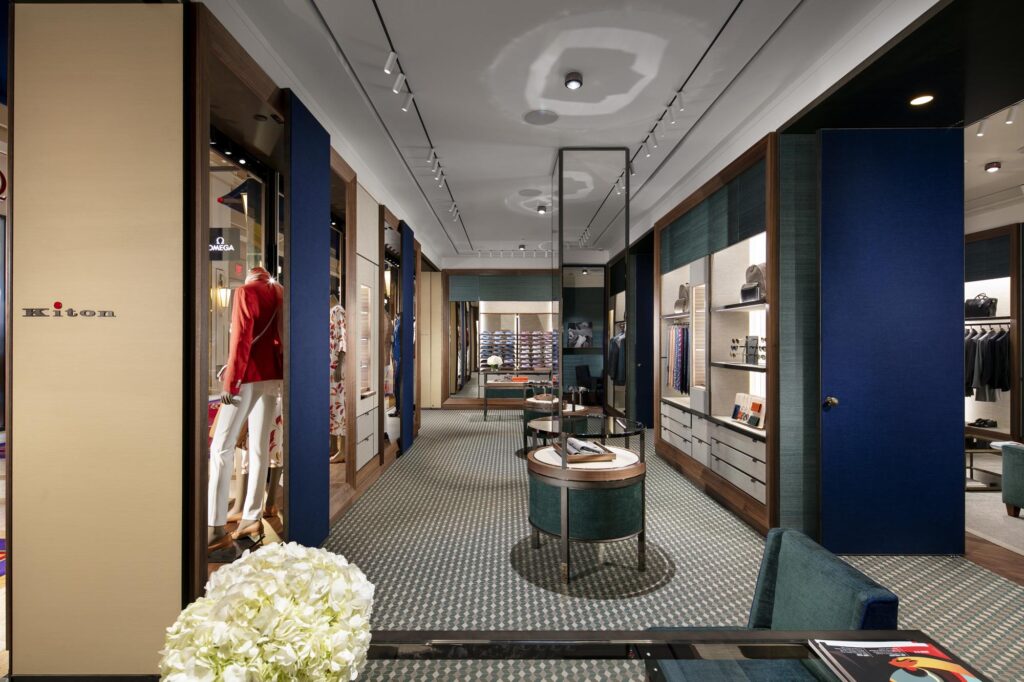
- Overall Interior Views (3–4): From front to back, left to right—highlight space and flow.
- Department Details (2–4): Focus on key sections—women’s apparel, footwear displays, tech gadgets.
- Hero Product Close-Ups (3–5): Capture textures, branding details, and premium finishes.
Customize this list based on the store’s unique features—tech shops may want close-ups of screens, while a boutique might need detailed shots of fabrics and accessories.
Final Checklist: Crossing the T’s
Before pressing record, confirm:
- Shoot timing aligns with store hours and permit requirements
- All promotional permits (mall, airport, hotel) are secured
- Cleaning crew has completed floors, glass, and key fixtures
- Merchandise and props follow brand guidelines and planogram
- A designated staff member signs off that the space is ready
With these boxes checked, you can dive straight into creating images that elevate your client’s brand.
